| Using a SpektrumTM compatible satellite receiver directly with Ruby |
| |
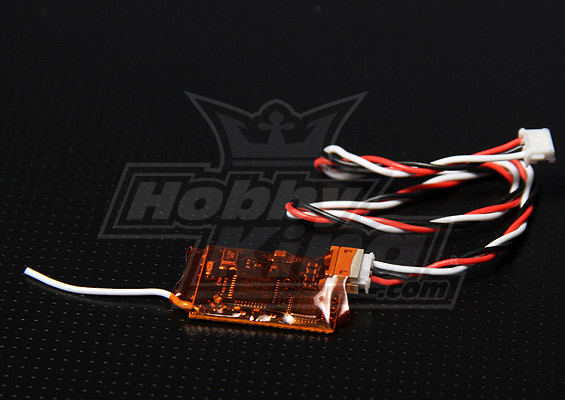
If you have a Spektrum brand transmitter, you can connect one or two tiny Spektrum brand or HobbyKing "Orange" R100 Spektrum compatible satellite receivers directly to Ruby.
There are a number of advantages. The main receiver itself is not needed, yielding a great savings of space and weight. A more reliable digital link is used that avoids common configuration issues. Since just a very thin adapter cable is needed. It's possible to put satellites out on wingtips, embedded in tail sections, etc.. away from sources of RF interference.
The 7 channel R100 is smaller than a breath mint and fairly inexpensive. We typically get from 1300 to 1500 feet range with just one used alone and have had good experience overall with them. We carry them in stock for $15. [more info...] |
 |
| (shown approximately actual size) |
|
Installation
Satellites can be plugged into the "Radio Modem" port on the Ruby controller, and / or into the "Serial 2" port on the Expander using cables provided by uThere. *** Do not plug a satellite receiver into the connector labeled "Handheld". (The handheld port is only for connection directly to the servo or "SPPM" outputs of regular standalone receivers.)
Binding
If you have a traditional receiver that is compatible with your satellite receiver, you can simply bind your satellite by plugging it temporarily into that receiver and following the normal binding process. The satellite will remain bound when used separately from the main receiver.
If you just have the satellite receiver, or if you want to bind two satellite receivers, you'll have to perform the following procedure to use Ruby to get the satellite receivers into bind mode:
-
Remove power from Ruby
- Turn off your transmitter.
-
Unplug the satellite receiver(s) from Ruby. It's usually easiest to unplug from the satellite receiver end.
-
Plug the Expander into Ruby if it isn't already
-
Connect the little " control panel" board to the connector labeled "panel" on the Expander if it isn't already.
-
Hold down the button on the control panel board as you apply power to Ruby. (This might require a third hand.)
- You should immediately see a solid (not blinking) red light on the control panel. You can release the button now.
- Connect the satellite receiver(s) to Ruby "modem" and/or "serial 2" port (not "handheld" port).
- You should now see a solid green light on the control panel and expander, and a rapidly blinking light on the satellite receivers indicating that they are in "bind" mode.
- If the satellite receivers don't enter "bind" mode, repeat ALL of the above steps, being sure to plug the connector into each satellite receiver in a fast, smooth, decisive motion. Plugging in slowly or unsteadily can cause the receiver to power up without entering bind mode. It's easiest to plug in the receiver end, rather than the Ruby controller end.
- You can now proceed as you normally would to bind the receiver: Hold down the "bind" button or switch on your transmitter as you apply power. You should see the receiver light blink more rapidly, then become solid after a pause. If not, repeat the above process.
- Your receiver is now bound to your transmitter and ready for use.
.
.
. |
|

