Loading a new configuration into Ruby
A configuration file tells Ruby specifics about the aircraft, remote control receiver, and your preferences.
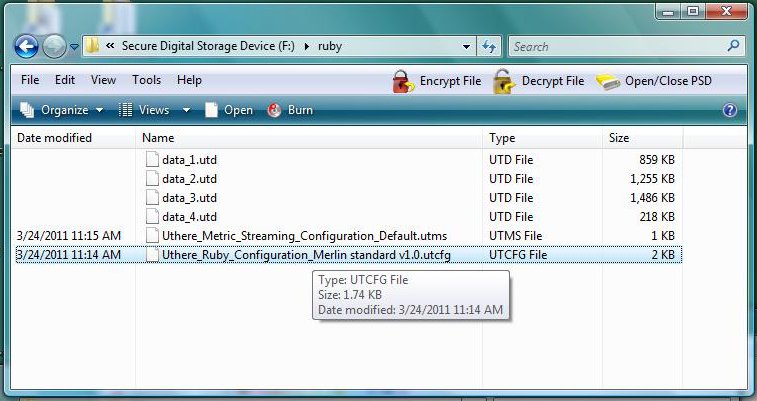
Ruby configuration files end with the suffix ".UTCFG" and may appear under the file type "Uthere airborne configuration" in directory listings. They typically have names like "Uthere_Ruby_Configuration_Merlin standard v1.UTCFG".
A configuration file is loaded into Ruby's permanent memory simply by having it in the 'ruby' folder on a SD Flash chip inserted in the Expander when Ruby is powered up. Once loaded, the file, SD Flash, or Expander may be removed.
Configuration files may be obtained for free from the uThere website, sent to you by uThere support staff or other uThere users, or generated by software that runs on your PC (not yet available).
Loading a new configuration file into Ruby is easy. It's simply a matter of copying the file onto a SD Flash chip, inserting into Ruby, and applying power.
Here's the step-by-step: |
- Insert a Micro SD Flash chip into the PC adapter and plug into your PC.
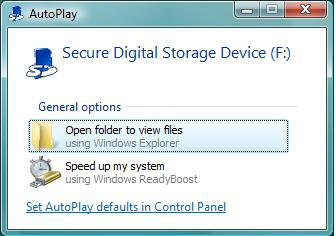
- A dialog should appear asking you what you want to do with the inserted media. Select "Open folder to view files".
- If the dialog does not appear, you should see it listed as "removeable media" or "Secure Digital Storage Device" alongside your hard drive when you select "Computer" under the start menu.
|
 |
- Open or create a folder named 'ruby' on the chip.
- Remove any configuration files that are already in the ruby folder. Configuration files end in suffix ".UTCFG", or appear as file type "Uthere airborne configuration".
- Be careful not to remove any "metric streaming configuration" file (".UTMS"). This file tells Ruby to record flight data on the SDFlash drive.
- Drag your desired configuration file into the ruby folder.
|
 |
- Eject the flash chip from your PC and remove from the adapter.
- Insert the flash chip into the Ruby Expander
- Attach the Expander to the Ruby Controller. Be sure that the servo pins on both units face in the same direction.
- Apply 5 volt power to any set of servo pins on Ruby Controller, not the Expander. (Unless you have an "Expander Spanner" attached, applying power to any of the servo pins on the Ruby Expander (channels 7 through 9) will not power the controller because its 5 volt power bus is not connected. So, be sure that you plug power into servo pins on the Controller (channels 1 through 6).)
- Be sure you plug in with correct polarity.
- The configuration will be loaded into Ruby's memory as soon as it is powered up with the SD Flash chip installed.
- You should see the green and red lights alternate, followed by blinking red or green lights.
- You can remove power now. The new configuration has been loaded, and Ruby will retain the new configuration even if the SD chip or Expander is removed.
- ** Be sure to test control of your plane before flying whenever you load a new configuration file. Be sure that you can engage manual, aided, an autonomous modes, and that all control surfaces move in correct directions under each mode. The first time you fly with a newly loaded configuration, it's a good idea to launch your plane and climb to safe altitude under manual mode before engaging aided or autopilot mode, being ready to switch right back to manual mode and return the plane to ground if necessary.
|
|
|